Remote File Management
Agent File Management
This section describes how to manage files on remote nodes using the NetXMS agent.
Required Configuration
Subagent Configuration
To perform file operations on a node, the filemgr subagent must be loaded and accessible paths must be configured.
It provides the ability to upload, download, delete, move, and rename files.
All configuration parameters related to the filemgr subagent should be placed into the [filemgr] section of the agent’s configuration file.
| Parameter | Description |
|---|---|
RootFolder |
Path to the folder which should be exposed.
|
Agent configuration file example:
MasterServers = netxms.demo
SubAgent = filemgr.nsm

[filemgr]
RootFolder = /home/zev
RootFolder = /home/zev/etc
RootFolder = /logs;ro
In this example, /home/zev and /home/zev/etc have read/write access, while /logs has read-only access.
Access Rights
The following access rights control file management operations:
-
Read access to a node — required to view the File Manager view
-
Download files access — required to download files from file manager
-
Upload files access — required to upload files to the node via the subagent
-
Manage files access — required for moving, renaming, and deleting files on the node
File Manager View
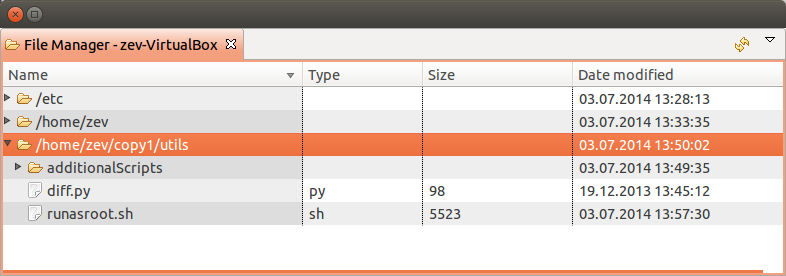
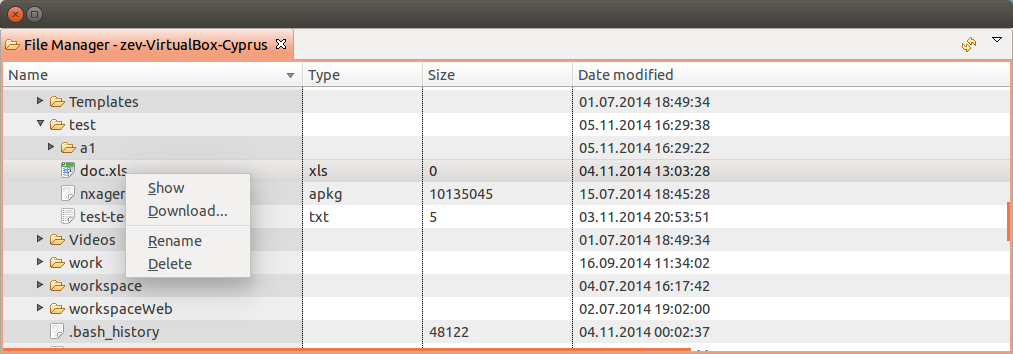
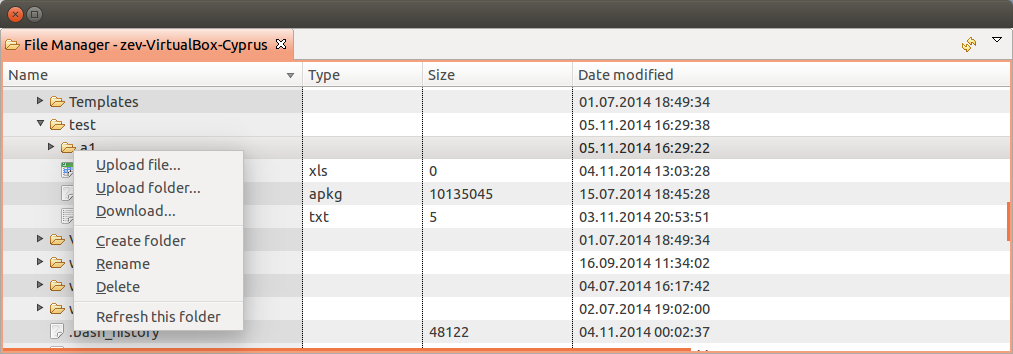
For each configured node, it is possible to open the File Manager. It will display all configured root folders and allow browsing into these folders.
File Menu
-
Download… — downloads file to a selected folder on local computer
-
Show — displays file content in a viewer
-
Follow changes — displays file content and continuously appends new lines as they are written to the file (tail mode)
-
Get fingerprint — calculates and displays the file fingerprint (size and hashes)
-
Copy file name — copies the file name to the clipboard
-
Copy file path — copies the full file path to the clipboard
-
Rename — renames file
-
Delete — deletes file
Folder Menu
-
Upload file… — uploads a local file to the selected folder in the view
-
Upload folder… — uploads a local folder to the selected folder in the view (not supported on web client)
-
Download… — downloads folder to a selected folder on local computer (on web client, the folder is offered as a zip download)
-
Create folder… — creates a new subfolder in the selected folder
-
Calculate folder size — calculates and displays the total size of the folder content
-
Rename — renames folder
-
Delete — deletes folder and all its content
-
Refresh this folder — refreshes content of the selected folder in the view
Advanced File Management
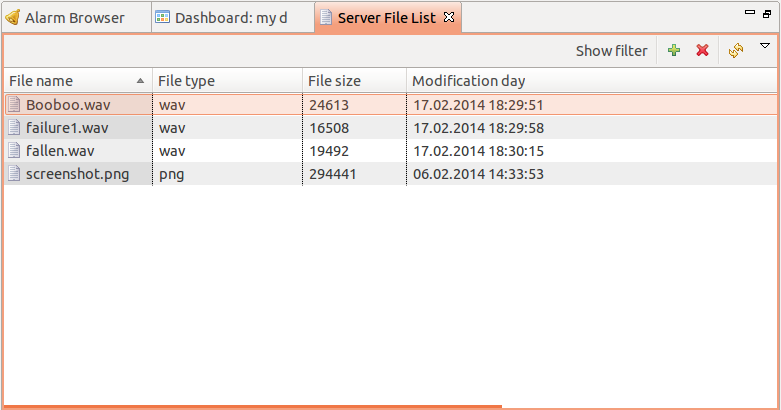
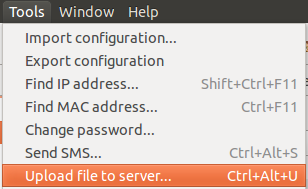
Files stored on the server can be uploaded to one or more agents, either immediately or on a schedule. The file must be uploaded to the server first (see Upload File to Server).
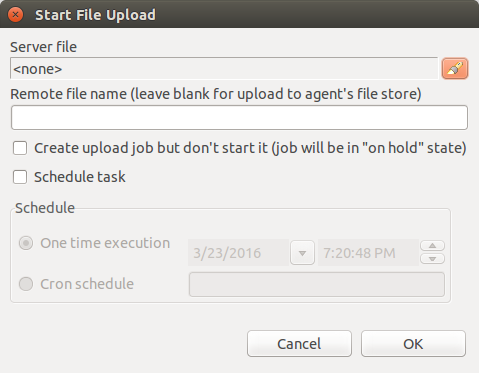
Select the required nodes (multiple nodes can be selected using the Ctrl key) and choose Upload file… from the object menu. The Start File Upload dialog opens:
-
File list — server files to upload; multiple files can be selected
-
Remote file name — destination file name on the agent. Leave blank to upload to the agent’s file store (the destination defined by the agent’s
FileStoreconfiguration parameter). If a path is set, the agent will check if there is access to this folder (access is configured by thefilemgrsubagent) -
Schedule task — instead of starting the upload immediately, create a scheduled upload, either for one-time execution at an exact time or on a recurring cron schedule. See Cron Format Reference for supported syntax. This option is shown only to users holding the Schedule file upload system access right.
Scheduled uploads appear as Upload.File tasks in the Scheduled Tasks view (see Scheduling).