How to Configure Business Services
For an overview of business service concepts, see Business Services and SLA.
How to Create a Business Service with Checks
Use this procedure to define a business service and add checks that determine its availability.
Prerequisites
-
Access to the NetXMS management console
-
Nodes or DCIs you want to monitor are already configured
Create the Service
-
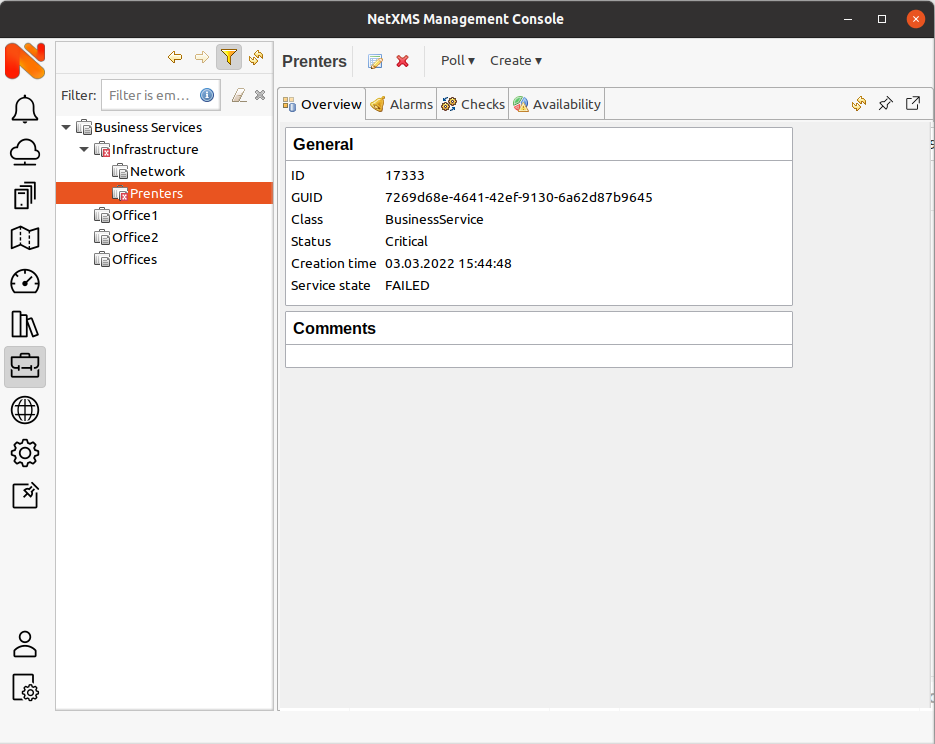
Open the Business Services perspective
-
Right-click in the Object Browser and select
-
Enter the service name and click OK
Add a DCI Threshold Check
A DCI threshold check monitors the threshold state of a specific data collection item. When the DCI’s active threshold reaches or exceeds the configured severity, the check fails. When a threshold is active but below the failure severity, the check enters a degraded (minor) state, which generates the SYS_BUSINESS_SERVICE_DEGRADED event for the service.
-
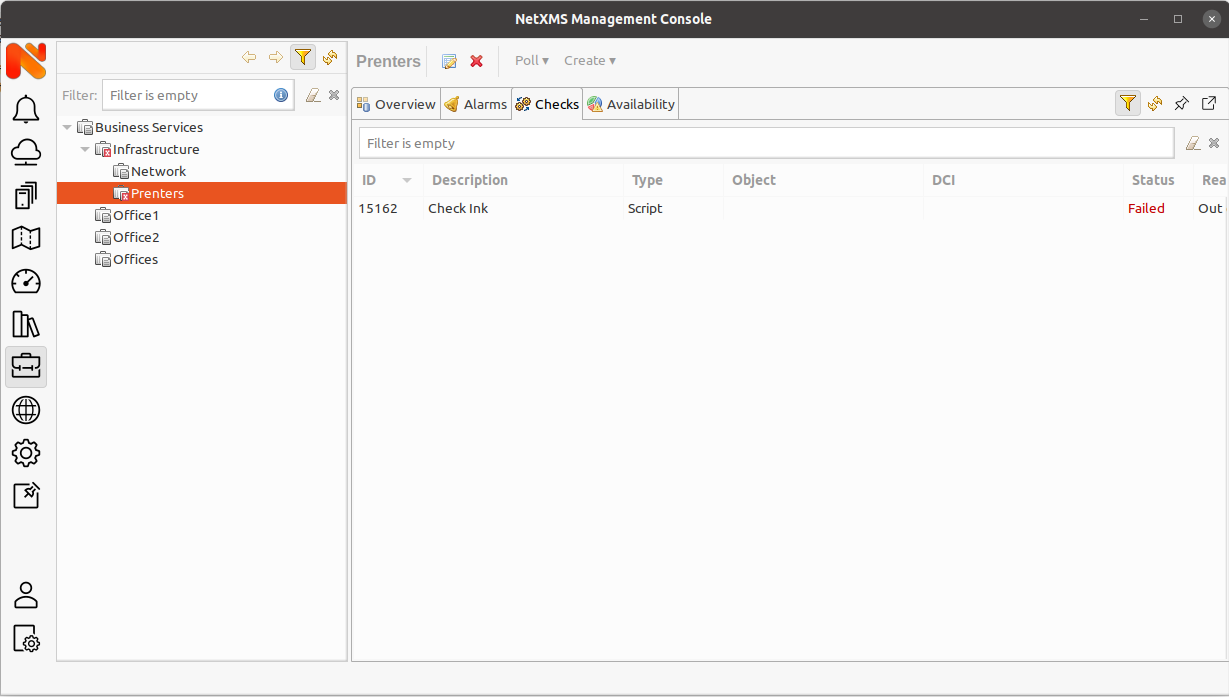
Select the business service and open the Checks view
-
Click Create new
-
In the Create Business Service Check dialog, select DCI threshold in the Check type combo box
-
Select the target node and DCI
-
Set the status threshold (the severity level at which the check counts as failed)
Leave as Default to use the
BusinessServices.Check.Threshold.DataCollectionserver configuration variable (default: Warning). -
Click OK
Add an Object Status Check
An object status check monitors the status of a NetXMS object (node, interface, cluster, etc.). When the object status reaches or exceeds the threshold, the check fails. When the status is worse than Normal but below the threshold, the check enters a degraded (minor) state, which generates the SYS_BUSINESS_SERVICE_DEGRADED event for the service.
-
In the Checks view, click Create new and select Object status as the check type
-
Select the target object
-
Set the status threshold
Leave as Default to use the
BusinessServices.Check.Threshold.Objectsserver configuration variable (default: Warning). -
Click OK
Add a Script Check
A script check runs an NXSL script that returns the check result. Use script checks for custom logic that cannot be expressed with DCI threshold or object status checks.
-
In the Checks view, click Create new and select Script as the check type
-
Write the NXSL script in the editor
-
Click OK to save the check
The script must return true (or the OK constant) for success and false (or the FAIL constant) for failure. Returning a text string is interpreted as failure, with the string used as the failure reason.
Available script variables:
-
$object— the object associated with the check -
$node— the node (null if the object is not a node) -
$service— the business service this check belongs to -
$reason— assign a string to this variable to supply the failure reason
Example script that checks if a node has more than 90% CPU usage:
if ($node == null) return "Node not found";
dciId = FindDCIByDescription($node, "CPU: Usage");
if (dciId == 0) return "CPU usage DCI not found";
cpuUsage = GetDCIValue($node, dciId);
if (cpuUsage == null) return "CPU usage data not yet available";
return (cpuUsage < 90);
How to Build a Service Hierarchy
Combine multiple business services into a hierarchy to model complex service dependencies.
-
Create a parent business service (e.g., "Company Internet Services")
-
Create child business services for each component (e.g., "Email", "Web Site", "DNS")
-
Add checks to each child service
-
Drag child services under the parent in the Object Browser, or use Bind from the context menu
The parent service state is the most critical state among its child services and its own checks.
How to Auto-Create Business Services with Prototypes
Business service prototypes automatically create business services based on instance discovery — similar to DCI instance discovery. Use prototypes when you need identical business services for multiple clients, locations, or infrastructure items.
Create the Prototype
-
Right-click in the Object Browser and select
-
Enter the prototype name and select the instance discovery type
-
Open the prototype properties to complete the configuration
Configure Instance Discovery
-
In the prototype properties, select the Instance Discovery tab
-
Choose the discovery method:
- Agent List
-
Discover instances from an agent list metric on a selected node
- Agent Table
-
Discover instances from an agent table on a selected node
- Script
-
Run a script from the script library that returns the instances
-
Select the source node (for agent-based methods)
-
Enter the metric name, or — for the Script method — the script name (the name of a script in the script library)
The discovery script may return an array of instance names, a map of instance names to display names, or a single string for one instance.
-
Optionally, add an instance discovery filter script to include or exclude instances
The filter script receives the instance name as
$1, the instance data as$2(a secondary value used by the Script method; for Agent List and Agent Table discovery it equals the instance name), the prototype object as$prototype, and the instance source node as$node(also available as$object). Returntrueto include the instance,falseto exclude it. The script may also return an array of one or two elements —[instance]or[instance, displayName]— to rename the instance or change its display name.
Configure Prototype Checks
Add checks to the prototype the same way as for a regular business service (see How to Create a Business Service with Checks). These checks are propagated to all business services created from this prototype.
When you modify or delete a check on the prototype, the change is automatically applied to all child services.
Configure Auto-Bind Scripts
Auto-bind scripts automatically associate objects or DCIs with the business services created from the prototype.
-
In the prototype properties, go to the Object Auto Bind or DCI Auto Bind property page
-
Write an NXSL script that returns
trueto bind the object/DCI,falseto request unbinding, ornullto make no changes -
Enable Automatically remove objects selected by filter from this business service to allow the script to remove bindings — without this option,
falseis treated the same asnull
In auto-bind scripts of prototype-created services, the instance value and prototype ID are available as properties of the $service object:
-
$service.instance— the instance value from instance discovery -
$service.prototypeId— the ID of the business service prototype
How to Track Availability and Downtime
View Availability
-
Select the business service in the Object Browser
-
Open the Availability tab
-
Select a predefined time range or use the date selector for a custom range
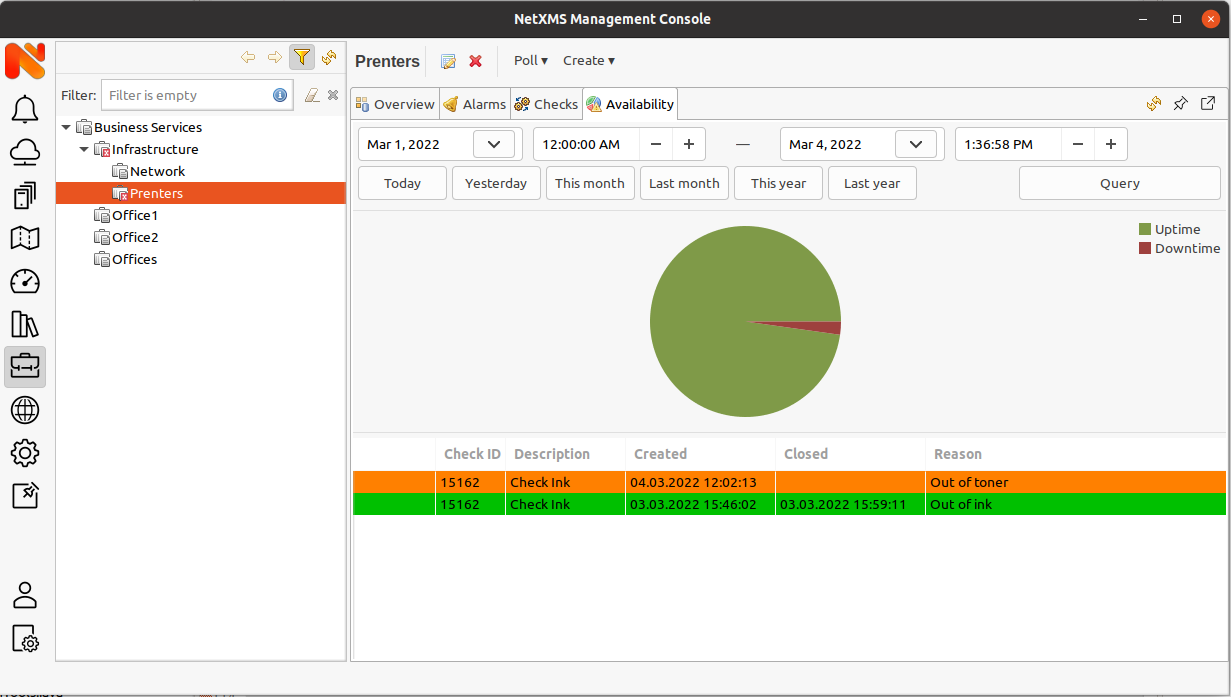
The tab shows:
-
An uptime/downtime pie chart with the availability percentage for the selected period, computed from downtime records
-
A table of per-check failure tickets with columns ID, Service, Check ID, Description, Created, Closed, and Reason
How Downtime Is Recorded
NetXMS automatically records downtime when a business service enters a critical state — whether because its own checks failed at the configured threshold or because a child service failure propagated up through the hierarchy. The downtime record is closed as soon as the service leaves critical state — either by returning to operational or by transitioning to degraded.
The availability percentage is calculated as:
uptime % = ((total time - total downtime) / total time) × 100
Availability is computed from downtime records.
The housekeeper deletes closed downtime records and closed tickets older than the number of days set by the BusinessServices.History.RetentionTime server configuration variable (default: 90 days).
Events
NetXMS generates events on business service state changes:
-
SYS_BUSINESS_SERVICE_OPERATIONAL— service returned to normal -
SYS_BUSINESS_SERVICE_DEGRADED— service entered degraded state (one or more checks or child services report a non-normal, non-critical status; does not affect availability) -
SYS_BUSINESS_SERVICE_FAILED— service failed (critical state, downtime starts)
Use these events in the Event Processing Policy to configure notifications or automated responses.
Related
-
Business Services and SLA — conceptual overview of business services
-
Server Configuration Variables — for
BusinessServices.Check.Threshold.*andBusinessServices.History.RetentionTimevariables -
NXSL Reference — scripting language reference for script checks and auto-bind scripts